PERFECT EYEBROW MAKEUP IN 5 MIN: THE 15-POINT GUIDE!
Being able to achieve perfect eyebrows in a few minutes is the dream of many of us.
Good eyebrow makeup is not easy to achieve, especially if we are always in a hurry, as today’s pace dictates.
- But what are the ways and tools to always have perfect eyebrow makeup?
- How to draw seagull’s wing eyebrows flawlessly?
- And what tools are the best?
Today we answer these questions.
There are so many ways to shape and draw eyebrows that it can seem really complicated to figure it out. Especially if we are always in a hurry and inexperienced.
On the other hand, no two of us have the same eyebrows (seriously, look carefully at all types of eyebrows-they are so different!), which means that the way to achieve “perfect” eyebrows is very different for each of us!
That said, there are some general tips, tricks and methods we can look at together to achieve the best result in very few minutes.
1. Let your eyebrows grow.
Before you think about doing anything to your eyebrows, give them a chance to grow. It may sound strange, but letting them grow will help reveal the natural shape of your forehead.
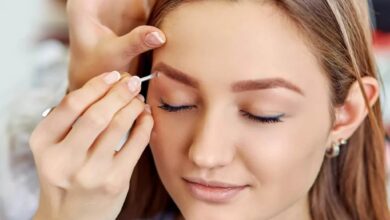
2. Eliminate excess hairs
Get out the tweezers and say goodbye to those hairs that refuse to follow the natural shape of your eyebrows. Not sure where to start plucking? Hold the tweezers by the open end and place them vertically against the side of your nose with the open end aligned with the bottom of your nostrils. Where the closed end reaches is where your brow begins, so any hairs growing beyond that line can be removed.
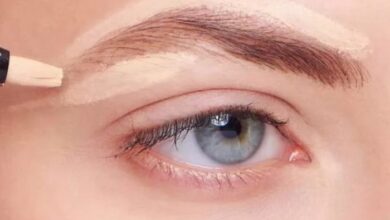
3. Fill in the gaps!
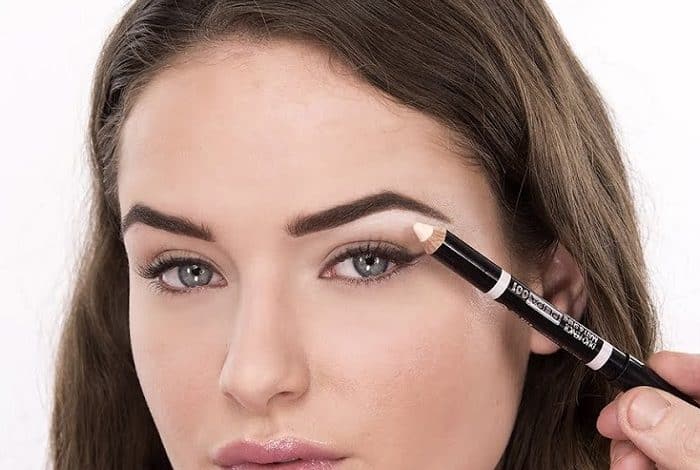
After trimming, you may find some scattered empty areas that need to be filled in. You can add color to those areas with an angled brush and brow powder or an eyebrow pencil.
If you opt for a pencil and are a blonde or a redhead, use a color two shades darker than your eyebrow color. If you are a brunette, use a color two shades lighter. You might consider using two colors to add natural highlights and dimension to your brows.
Apply the color by striking the pencil or brush in small lines that mimic the look of hair. Gently brush over those areas with a spoolie to blur any unwanted lines.
4. Use the right products
There are so many options when it comes to eyebrow products, which is why it is very important to make sure you use the right one.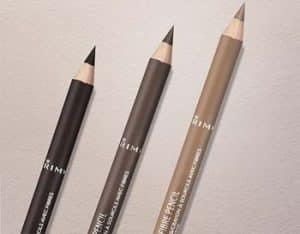
First, think about your goals for your eyebrows. Are you looking to fill in scattered spots and add definition? Get an eyebrow powder and an angled brush.
Are you trying to lightly shape and comb your eyebrows? Pass a light eyebrow gel.
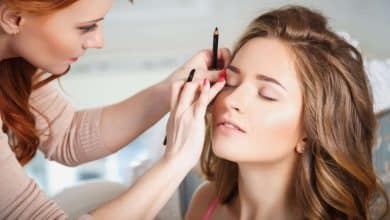
5. Evaluate threading!
Threading is an increasingly used finishing technique, although not an easy one for all.
In threading, a thin cotton or polyester thread is doubled, then twisted. It is then coiled over areas of unwanted hair, pulling the hair out at the follicle level. Unlike tweezing, in which individual hairs are pulled out one at a time, threading can remove short rows of hairs.
Advantages of eyebrow threading, compared with eyebrow waxing, include that it provides more precise control in shaping the eyebrows and that it is gentler on the skin. One disadvantage is that it can be painful, as several hairs are removed at once.
Threading allows for a more defined and precise shape and can create better definition for the eyebrows. It is also used as a method to remove unwanted hair all over the face and upper lip area. Threading is not a good method for removing hair on arms or legs, as hair in those regions is usually quite coarse and there are too many to remove.
6. Try a template/eyebrow stencil
If going freehand with eyebrow products is difficult for you, you should try using an eyebrow stencil, which is a small template that you stick or hold over your eyebrows to keep you from “coloring” outside of your eyebrow lines with your powders or pencils.
They come in lots of shapes and sizes and are also a great way to experiment with new looks, such as a bolder brow, a straight brow, etc.
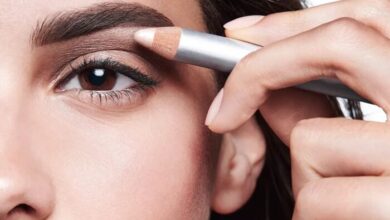
7. Apply products from the center of the brow
If you feel you only need to widen the arches at the beginning of the brow, start from the arch and work toward the bridge of the nose. This way you are left with the smallest amount of product when you reach the beginning of the eyebrows, making the application more realistic.
Then, use the same product on the tail of the eyebrow so it doesn’t look uneven.
8. Apply eyebrow products in a quick motion
Do not fill in the eyebrows with a single heavy stroke of any product. The goal here is to make small hair-like strokes, so we recommend using small, quick movements (whether you’re using a powder and angled brush or a basic pencil) in the direction of your hair growth for maximum realistic-looking results.
10. Keep the tail of your eyebrows under control
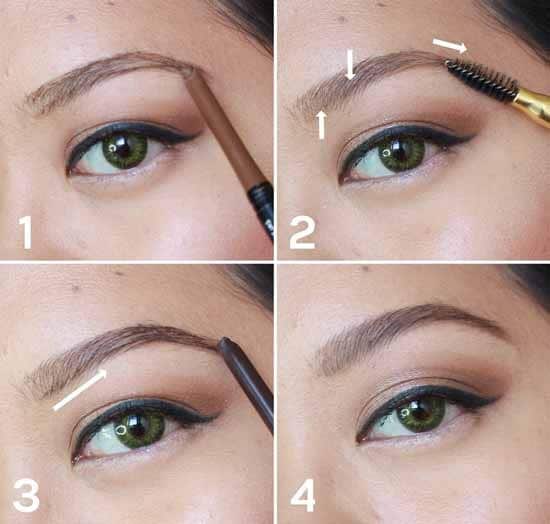
1: Draw the natural shape of the arch of the eyebrow
2: Use the comb spread and sort the pigment into the eyebrows
3: Using a darker shade pencil, draw another line at the bottom of the eyebrows to thicken the tail (optional)
4: Comb from the inside out by smoothing the brow
Extending the tail of your eyebrows too far can create a drooping effect, lowering your face and making you look, a bit sad.
Your eyebrows naturally stop at a point that lifts your face upward and outward, and you want to maintain that angle.
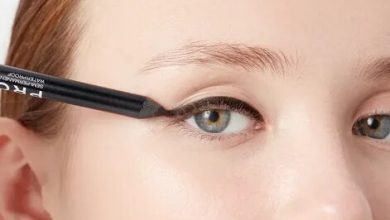
To measure where the tail of your eyebrow should end, place an eyebrow pencil diagonally across your nostril and align it with the side of your eye. Where the pencil hits the brow arch is where the end of the eyebrow should end (or can be extended) without it looking fake. The result will be perfect eyebrows!
11. Create stunning gull wing eyebrows.
Arches that are too sharp are unnatural. So if you were not born with a high arch but want to create a subtle one, hold an eyebrow pencil against your nostril and line it up diagonally with the center of your eye. This is exactly where each arch should go naturally.
Next, take a spoolie brush to help comb the hairs downward. Using your favorite brow product (a pencil and a light touch are key!), slightly alter the shape of your brows, creating a slight peak where your natural arch is. Finally, put the eyebrow hairs back in place with the spoolie so that they fall nicely and the arch looks natural.
12. Shape your eyebrows
We are not talking about the eyebrow hairs that are already in order. What I am talking about are the unshaped eyebrow hairs that, can really give more structure to your face. Don’t have time to see an eyebrow expert? Use your natural brow shape (i.e., where most of your forehead hairs are) and pluck any hairs that fall outside that shape for perfect arches.
13. Start with a light application
It’s always easier to add product than to take it off, so build up your brows slowly.
The key to making your brows look darker but natural? Don’t overdo the application color. If you have a bald spot that you’re trying to fill in, that’s one thing, but if you’re just trying to create volume and color, your best bet is a light brow mascara that you can lightly swipe on for a believable effect.
14. Take care of sparse spots
If you have been a victim of excessive “plucking” in the past, know that you are not alone. To mask the sparseness you can fill in any spots with brow powder and an angled brush, or opt for an eyebrow pencil. Remember, however, to comb your brows with brow mascara (tinted is often used here).
15. Mixing up your eyebrow colors.
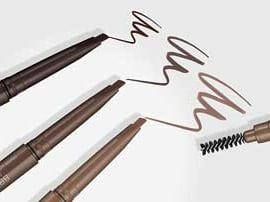
Choosing the wrong color for your eyebrow makeup is another way to make your eyebrows look too “finished.” Having trouble finding the perfect shade? Try using two different shades to fill in your brows. If you are a redhead, overlap a taupe and a coppery pencil to give your brows a natural dimension.
An easy way to fill in your brows is to draw an angled line under your eyebrow at first with an eyebrow pencil, then use a spoolie brush to spread it into your brows.
The only trick? You have to remember to mix it completely otherwise it will look too hard!